Email Setting – SendGrid

In the production stage, directly using your own Gmail or another email address may not be appropriate from a security and service credibility point of view. Also, when your service becomes large, your sent-email box can be full of machine-generated emails. There are third-party services that handle the machine-generated emails on behalf of your email server, such as SendGrid, Amazon SES, or Mailtrap. In our case example, we use SendGrid.
There are four key steps for SendGrid setup for Django.
- Sign up on SendGrid
- Create an API Key
- Create a sender
- Install django-sendgrid and update the Django settings
If you don't want to have the SendGrid brand name in the verification email sent by your Django app, you'll need to manage the sender authentication process on top of the four steps above.
Sign up SendGrid
Go to the SendGrid website and click on Start for free.

Type your email and password.
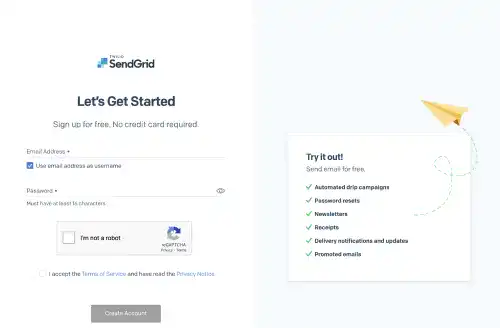
You also need to fill in your full name and some additional information to create an account.
Create an API Key
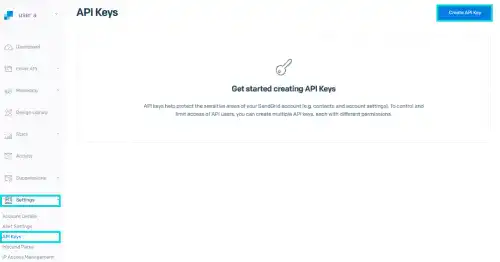
After you create an account, you need to create an API key that will be used in the Django setting later. Go to the API Key page under Settings in the left menu. Click on the Create API Key button.
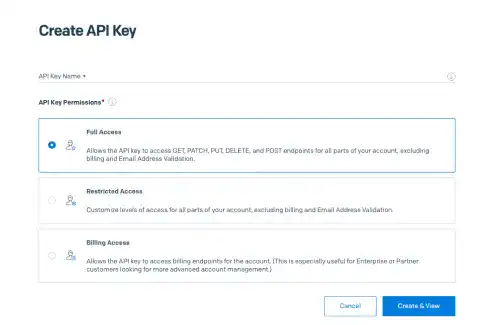
Select Full Access unless you want to customize the setting.
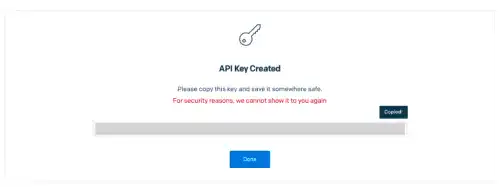
As a new API Key is shown only once, you need to make sure you copy and save it somewhere.
Create a sender
You need to register an email address that you want to use in the Django app.
Go to Senders under the Marketing dropdown list. Click on the Create New Sender button on the top right.
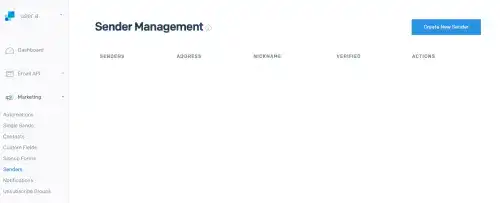
Add your sender information and save it. A verification email will be sent to the registered email address. Once you verify your email address, you'll get a confirmation message.

And, you'll see that your email has been registered.
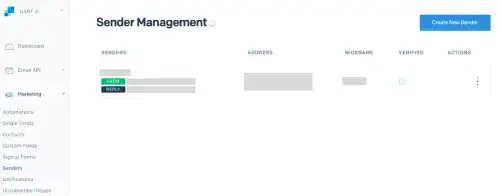
Install django-sendgrid and update the Django settings
Once you get an API key and register a sender, you need to install the Django SendGrid library and update Django settings.
Install django-sendgrid
Add django-sendgrid-v5 in the requirements file.
and run the pip command.
pip install -r requirements.txt
Update the Django settings file and .env file
As we won't use Gmail in the production stage, comment out or delete the settings.
Add the four settings for SendGrid.
If SENDGRID_SANDBOX_MODE_IN_DEBUG is True, actual emails won't be delivered.
SENDGRID_TRACK_CLICKS_PLAIN is for URL tracking. If this setting is True, you'll see a long URL in the verification email. In our case, change it to False.
Actual information for the API key and default email should be saved in the .env file.
For more details, please check the official document.
Check if the verification email is working in the production environment
Restart the application server and check the status.
 sudo systemctl restart project_d
systemctl status project_d
● project_d.service - gunicorn daemon
Loaded: loaded (/etc/systemd/system/project_d.service; disabled; vendor preset: enabled)
Active: active (running) since Mon 2023-04-24 13:30:20 UTC; 1s ago
TriggeredBy: ● project_d.socket
If the app is running properly, try to sign up. You'll see that the verification email has been successfully sent.
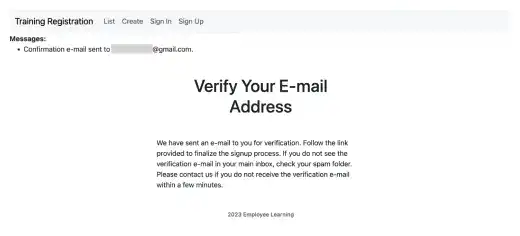
And you'll receive an email like the one below. You can see that the email was sent via sendgrid.net.

Sender Authentication Setup
If you don't want to have the SendGrid name in the verification email sent by SendGrid, you need to go through the sender authentication process.
You can set it up through Sender Authentication under the Settings dropdown menu.
You can choose two approaches: Domain Authentication and Single Sender Verification.
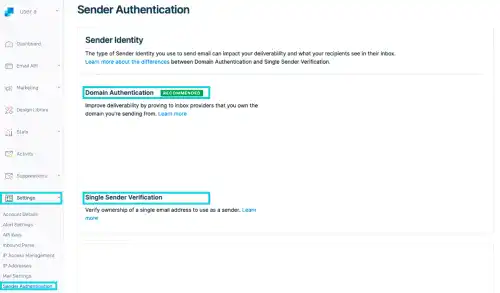
If your emails are not reaching users properly, authenticating the senders may improve the situation.


