Django Allauth (4) – Email Verification via Gmail

This lesson will explain how to set up email verification via Gmail. The approach can change depending on Google's security policy. This approach is valid as of April 2023.
1. Set up a Gmail App password
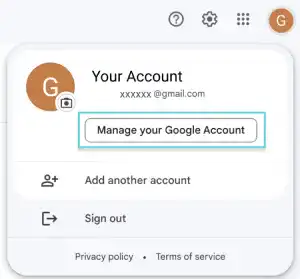
You need to set up a Gmail App password to send email verification emails via Gmail. Go to your Gmail account in your browser and click on "Manage your Google Account".
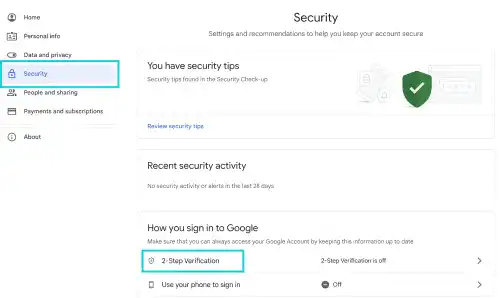
Go to 2-Step Verification under the Security section.
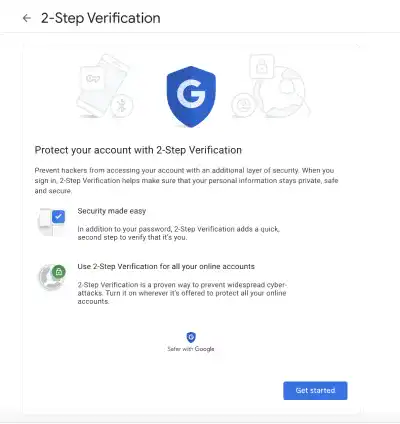
If you haven't set it up yet, follow the guidance to set up 2-Step Verification and turn it on.
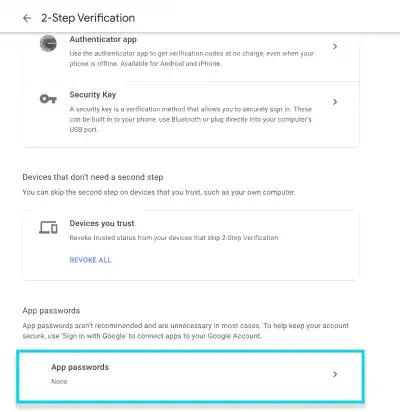
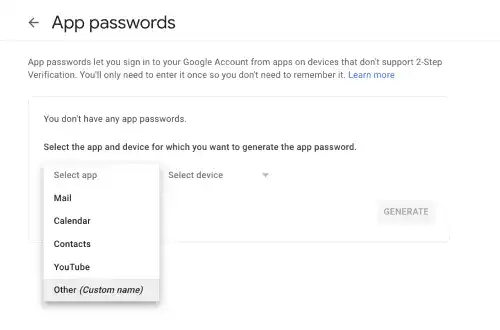
Go to the App passwords section at the bottom.
Generate an app password with a custom name.
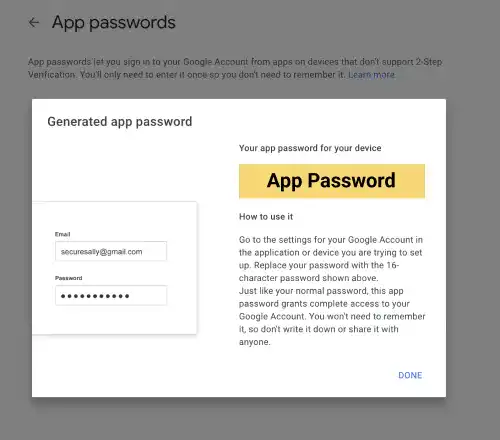
You'll see that an app password was generated. Copy the password as we will use it in settings.py.
2. Edit settings.py
To change the console-based email verification setting to email-based verification, edit settings.py.
- Change
EMAIL_BACKENDto 'django.core.mail.backends.smtp.EmailBackend' - Add email settings
The EMAIL_BACKEND setting enables Django to send emails using the SMTP protocol.
EMAIL_BACKEND = 'django.core.mail.backends.smtp.EmailBackend'

EMAIL_HOST = 'smtp.gmail.com'
EMAIL_HOST_USER = 'your_account@gmail.com'
EMAIL_HOST_PASSWORD = 'App Password'
EMAIL_USE_SSL = True
EMAIL_USE_TLS = False
EMAIL_PORT = 465
DEFAULT_FROM_EMAIL = 'your_account@gmail.com'
Make sure that only one of TLS or SSL can be True, and that the port setting is aligned with the protocol. In this case, we use EMAIL_USE_SSL = True, EMAIL_USE_TLS = False, and EMAIL_PORT = 465.
3. Check the results
To check the results, try to sign up again. This time, you need to use an actual email address.

Once you click on the Sign Up button, you'll see a message saying that a verification email has been sent out.

Check your email. You'll see the verification email in your inbox.
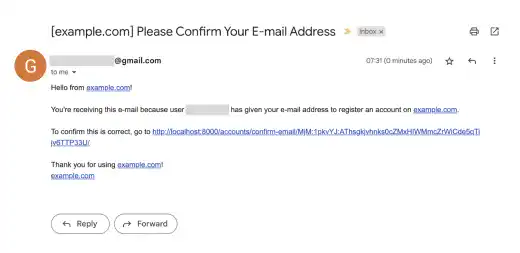
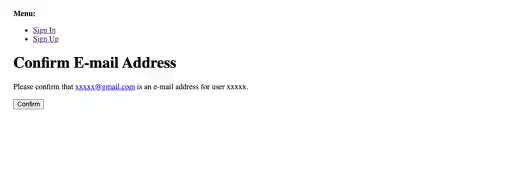
Click the link, and then you'll see a confirmation message. After you press the Confirm button, your account will be created...
...and you'll be ready to sign in (log in) to the service.
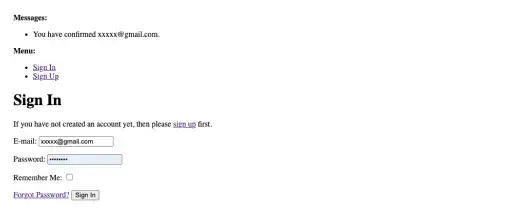
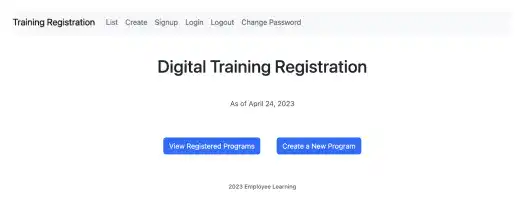
Sign in with your registered email and password. You'll jump to the home page (You are successfully logged in to the app).
 Note: Delete Users
When you are working on the email setting, you may want to test functionalities multiple times. However, the app blocks new registrations that use the same email address. Delete the user from the Django admin to test it again with the same email address.
Go to the Users section on the left menu. Select the user to delete, select "Delete selected users" in the dropdown, and press the Go button.
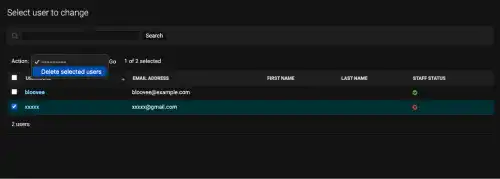
Make sure that you delete the user, not just their email address; or else, even though you delete the email address, the user won't be deleted. But once you delete the user, the registered email address will also be deleted.

