Project Initiator – Create Remote Repository

When you want to store and share your project files on GitHub, you need to create a new Remote Repository on GitHub. Creating a Remote Repository and granting access are done through the GitHub web platform. Here are the key steps to create a new Remote Repository.
1 Go to the GitHub and sign-in to the account.
2 On the main page, press the green New button on the left or click the top right + sign and select New repository.

3 On the “Create a new repository” page, you need to add a repository name, select public or private, and press the Create repository button.
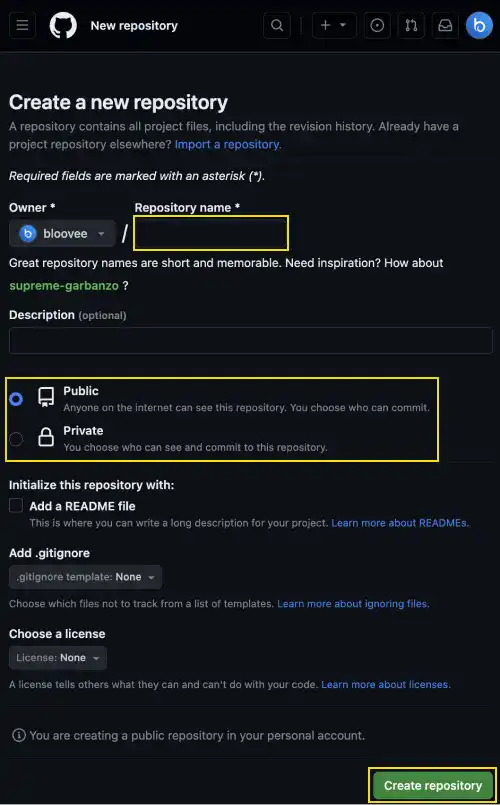
We have an integrated practice section later (Project Initiator – Grant Remote Repository Access to Project Members) in this chapter to cover creating a new repository, uploading project documents, and inviting a project member to the repository.
 Tips: Switch between a private repository and a public repository
You can change the type of repository from public to private or vice versa after creating the repository. Here is an example that shows how to change a private repository to a public repository.
1. Go to the settings page of the repository.

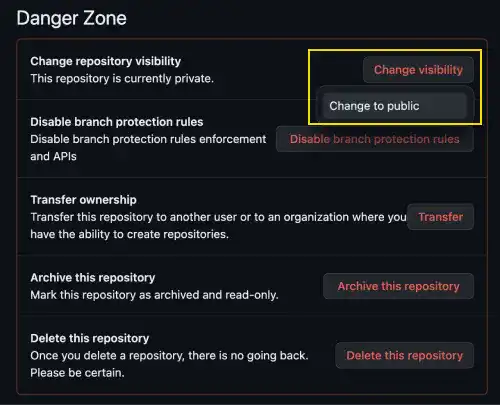
2. Go to the bottom of the page and find Danger Zone. Click on the Change Visibility button and select Change to Public.
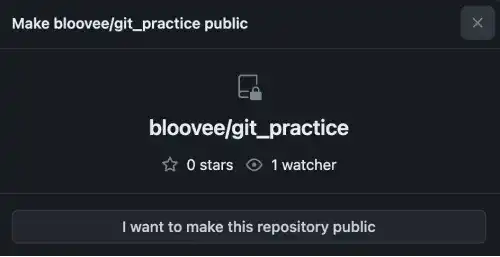
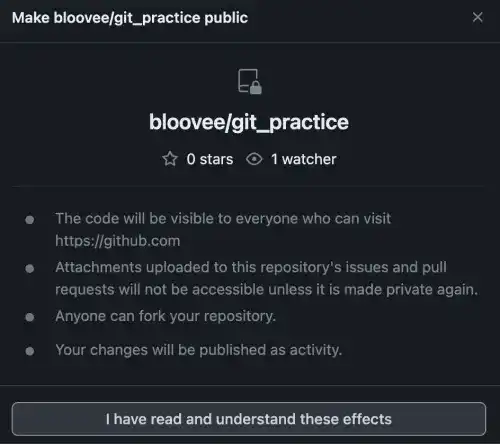
3. There are multiple confirmation messages. Agree with the messages.
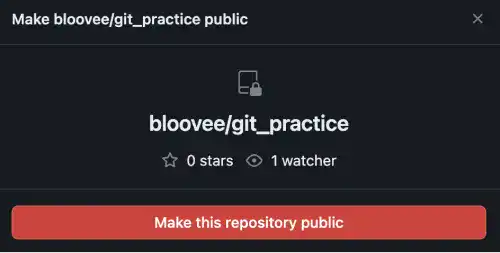
4. You'll see that the repository status has changed from private to public.


