Key Tool Preparation (1) – Mac

If you are using Mac, most likely Git is preinstalled on your computer. For a text editor, we use VS code throughout the course. We recommend you use it as well for practice purposes. You can also use Terminal, the command line for Mac through the VS code window.
The choice of a web browser is less critical. For our demonstration purposes, we use Chrome when we explain with examples.
On this page, we'll explain how to install the latest Git software onto a Mac computer and prepare VS code as a text editor with Terminal in the VS code window.
1. Check Git version and install Git if necessary
You can check if the Git software is installed on your computer using the command line. The command line for Mac is called Terminal. To launch Terminal, go to Launchpad and type "Terminal" in the search bar.
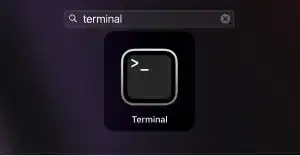
To check if Git is installed, run the command below.
git --version
If the command line returns its version information as shown below, Git is already installed on your computer. You can skip the following instructions.
git version 2.34.1
If Git is not installed or you want to upgrade it, follow the instructions below.
There are several options to install Git onto your computer.
The most popular one is using Home Brew (a package manager for macOS). Here are the steps to install Git with Home Brew:
Install Home Brew (if you don’t have it on your computer)
You can check if you have Home Brew on your computer by running the command below.
brew --version
If Home Brew is not installed yet, run the command below. You can copy the code and paste it into the command line.
/bin/bash -c "$(curl -fsSL https://raw.githubusercontent.com/Homebrew/install/HEAD/install.sh)"
Follow the instructions in the command line. To see more details about Home Brew, click on this link Home Brew official site.
Install Git
To install Git with Home Brew, run the following command
brew install git
To see other options to install Git onto Mac, go to this page Git download for macOS.
2. Install VS Code
For Django app coding, you can use a simple text editor and a command line; however, using an advanced code editor tool such as Visual Studio Code (VS Code), you can improve your productivity of coding. VS Code is free software provided by Microsoft. It is one of the most popular code editors among code developers. In this course, we use VS Code as a default editor.
Install VS Code
VS Code is available on VS Code official homepage. Here are the steps to install VS Code on Mac.
1. Go to the official site. Select your OS and follow the instructions to install VS Code.
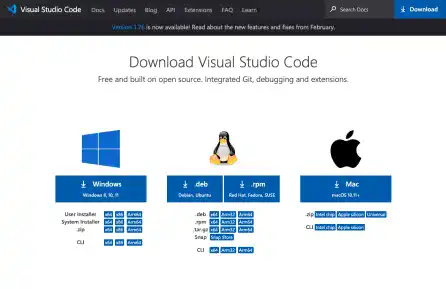
2. Go to the Downloads folder.
If you are using Chrome, you may see that a zip file is downloaded. Double-click the zip file to uncompress the downloads folder. If you are using Safari, the uncompressed file is already created in the Downloads folder.
Drag and drop the Visual Studio Code.app icon onto the Application folder.

3. Open Launchpad from the Dock. You can find the Visual Studio Code app.
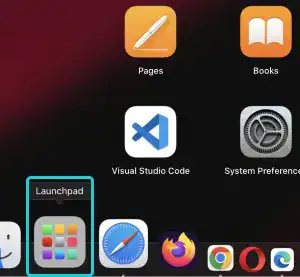
4. To create an icon in the Dock, drag and drop the Visual Studio Code app on to the Dock from Launchpad.
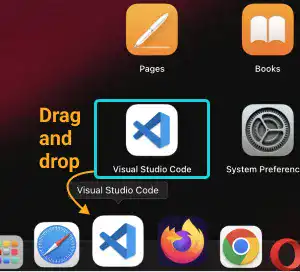
5. Going forward, you can open the VS Code from the Dock.

3. Launch Terminal with VS code
To open Terminal in the VS code window, click on Terminal in the top menu bar and select New Terminal.
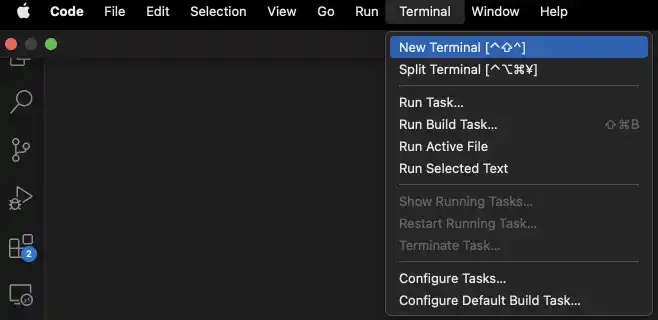
You can see that Terminal is opened at the bottom of the VS code window.
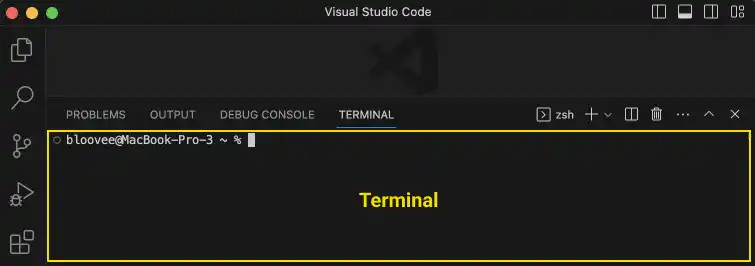
 Mac Settings
If you are using Mac, it's helpful for you to know the following basic settings.
1. Show hidden files and directories
Mac (
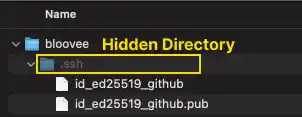
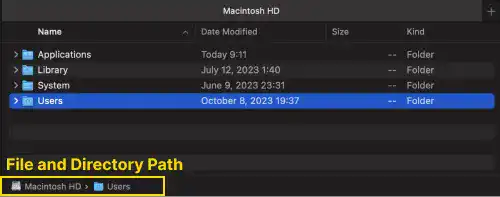
2. Show file and directory path
Unlike Windows Explore, Mac's Finder may not show the path to a file or directory by default. To show the file path, press the ⌥ option + ⌘ command + P keys. To hide it, you can press the same keys again.
3. Show file extension
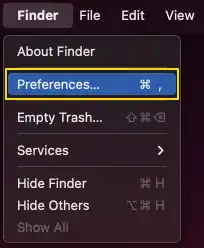
You may encounter a situation in which file extensions are hidden. To see file extensions of all files,
- Select Finder on the top menu bar and click on Preferences...
- Under the Advanced tab, check Show all filename extensions
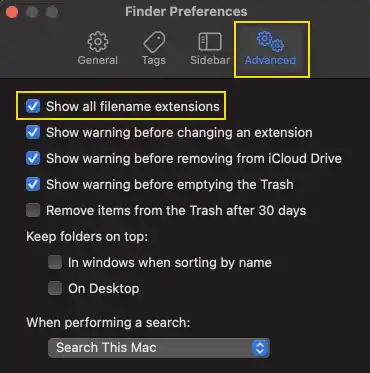
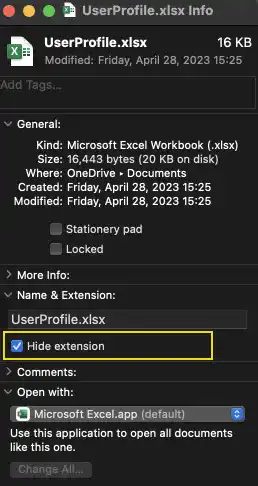
Note: Even though you uncheck Show all filename extensions, you may still see file extensions. This is because the file extension setting is not set as hidden. To see the individual file profile and settings, select the file that you want to check and press the ⌘ command + i keys.
