Create GitHub Account

The next step for the initial setup is to create an account on a remote repository service. To use GitHub, you need to sign up for the GitHub service on its website. GitHub provides a free plan. You can start with the free plan for learning purposes. Here we’ll explain how to set up a GitHub account.
1. Go to the GitHub official site and click “Sign up” on the top right

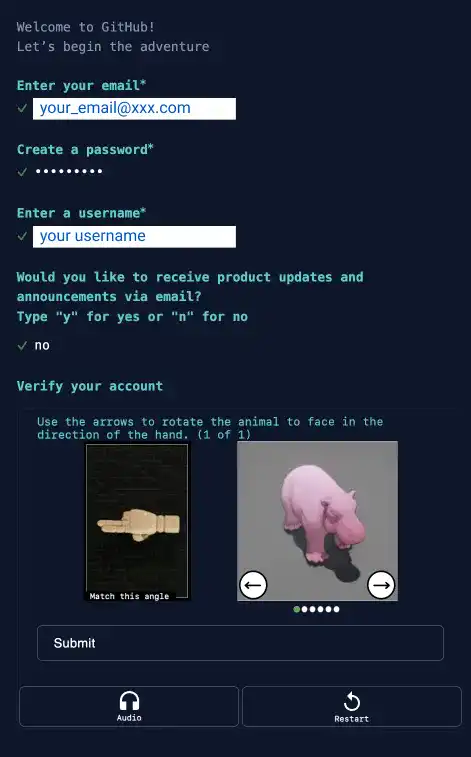
2. Enter your email, password, and username
You’ll also need to answer some questions.

3. Verify your email account
After you register your username, email address, and password, a pass code will be sent to your email address. You will need to enter the pass code on the site.

4. Choose your account plan
Usually, the free plan is enough for learning purposes.

5. Optional: set up your user icon
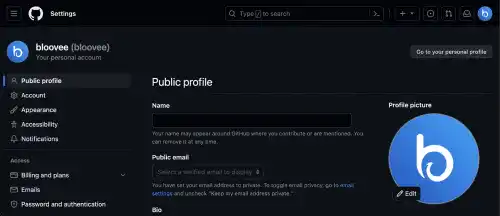
A user icon is auto-generated as an initial setting. You can replace it with your own icon or picture. To set up your user icon,
Click on the user icon(avatar) on the top right

Select Your profile

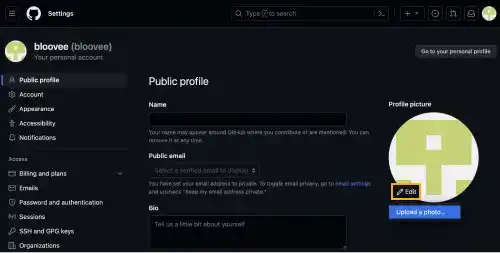
Click on the large user icon(avatar) on the left

Click on the Edit button on the user icon (avatar) and select Upload a photo...

You can upload your avatar in the PNG, JPG, or GIF format. It may take a few minutes to replace the icon images.


